We love ourselves some homemade soap around here. Over the years we’ve made almost every kind of soap we can think of (herbal, flower petal, soap on a rope and pink clay soap to name a few) and we’re not even close to calling it quits just yet. That’s because melt-and-pour soap takes the pain out of soap making and lets you focus on the more creative aspects, like choosing colors, scents, shapes and more. The sky’s the limit! But despite its simplicity, we’ve picked up a few tips and tricks along the way that make melt-and-pour soap even easier.
Here’s our complete guide to using melt-and-pour soap.
What is Melt-and-pour Soap?
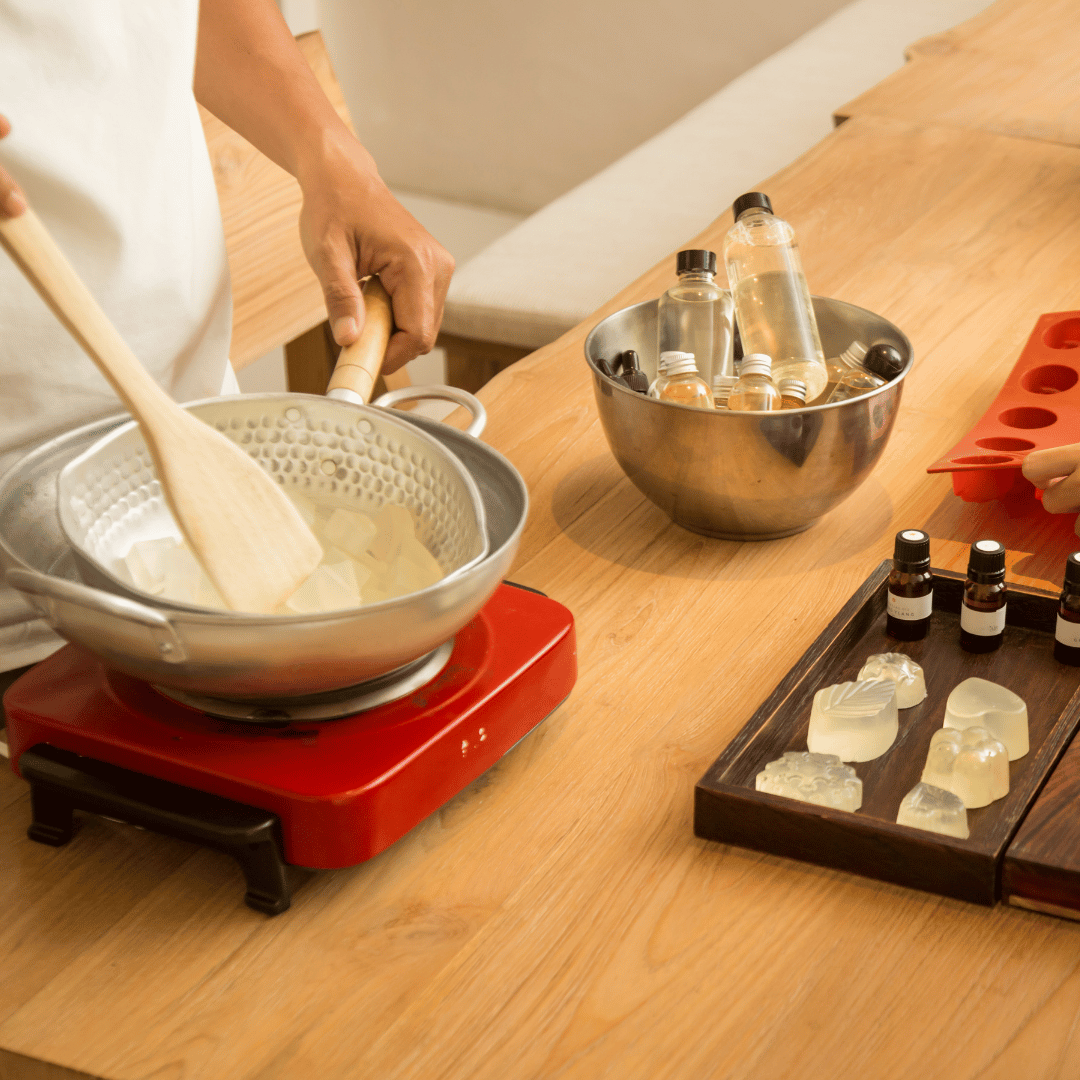
Melt-and-pour soap (often referred to as “soap base”) is simply pre-made soap that you can melt down, add scent and colorants to and let harden using your own molds. It’s an easy way to make customized soap at home without handling some of the more caustic chemicals (like lye) or purchasing safety gear. Because it’s already been through the full saponification process (the chemical reaction that makes lye safe for skin) you can enjoy your soap immediately, rather than waiting 4-6 weeks for it to completely cure.
Melt-and-pour soap is especially great for beginners because it allows novice soap makers to focus on the more fun aspects such as scents, colors and designs, without worrying about making soap from scratch.
Melt & Pour Soap Bases
The first step to using melt-and-pour soap is choosing a base. All melt-and-pour soaps primarily consist of coconut oil, palm oil, safflower oil, glycerin, water and sodium hydroxide (lye). From there, things like goat milk, shea butter and other natural ingredients are added to make the different bases.

Glycerin (Clear) Melt and Pour Soap
Glycerin melt-and-pour soap is a clear soap base that doesn’t contain any of the other additives such as shea butter or goat’s milk. Because it dries clear, it’s perfect for coloring and for embedding objects such as flower petals, herbs or other kinds of soap. However, without the moisturizing additives, it has a tendency to dry out sensitive skin when combined with dry air and super hot showers.
Shea Butter Melt and Pour Soap
Most shea butter soap bases contain about 5% shea butter, which gives it a smooth, creamy consistency and an off-white color. Because it’s so creamy, it doesn’t always lather as well as other bases, but it’s still just as effective. It holds colors and scents well, but I’ve found that it’s naturally soft, so adding too much additional oil (even essential oils) can make it dissolve more quickly.
Goat’s Milk Melt and Pour Soap
Goat milk soap is a soft white soap base that has been infused with real Goat’s Milk. Since it uses real milk, it’s chock full of vitamins, proteins and minerals that nourish dry skin and support overall skin health. Although it melts the same as glycerin soap, its opaque color can make it more difficult to achieve a deep, rich hue using some natural colorants.
Specialty Soap Bases
Honey, argan oil, aloe, redwine, triple butter are considered more “specialty” forms of glycerin soap base. They’re easy enough to make yourself simply by adding those ingredients directly to melted glycerin soap base. Or you can save a step (and maybe some money) by buying a base with it already included. It’s up to you!
Colorants for Melt & Pour Soap
There are plenty of options for coloring melt-and-pour soap. Micas and herbs are easy to use and they look great in the finished soap. They’re also natural, so you don’t have to worry about toxins or skin irritation when using your soap. While there are artificial colorants to choose from, they may irritate skin and aren’t recommended for bath and body products.
Natural options are herbs and spices that you can add directly to your melted soap base. Because they’re powders, they sometimes sink to the bottom as the soap cools and don’t always give you uniform color throughout. It much prefer it to artificial colors. Here’s what you can use most often:
- Turmeric (yellow)
- Beet root powder (pink or red)
- Matcha Powder (light green)
- Spirulina (dark green)
- Iron oxide powder (rusty red)
- Micas (there are lots of different ones to choose from)

Fragrance for Melt & Pour Soap
Fragrances aren’t a necessity, but they can make your soap more enjoyable to use.
Essential Oils
Essential oils give your soap skin-soothing and aromatherapy benefits. Choose your oils based on your particular skin type (if you’re giving your soap as a gift, tailor the fragrance to your recipient) or the aromatherapy benefits you’d like to enjoy.
A good rule of thumb is to use about 2 teaspoons (0.3 oz.) of scent per pound of soap base. If using essential oils, make sure to let your base cool slightly before adding your oil, otherwise you might degrade the fragrance.
Fragrance Oils
Fragrance oils are skin-safe fragrances made specifically for use in bath and body products.
Molds for Melt & Pour Soap
You’ll need to choose a mold that can withstand higher temperatures so it doesn’t melt from the heat of your soap base. Metal baking tins, muffin pans, silicone molds and wooden soap molds are most often used in soap making.
Silicone Molds
We prefer silicone molds with individual bar-sized cavities because they’re flexible, meaning you can easily pop out the cooled bars. They also come in fun shapes and sizes, which are perfect for storing in a glass jar in the bathroom or giving as gifts during the holidays. While they do have silicone soap molds, I often look for silicon baking or ice molds as well.
Wood and metal molds
Baking or muffin tins are perfect for making your own soap. Simply pour your melted soap base into the individual tins and allow it to cool completely. If your soap doesn’t pop out easily, place the tin in the freezer for 20 minutes then try again. You can also use large wooden or metal soap molds if you would like to create bars of soap with layers, marbling or patterns.
How to use Melt-and-Pour Soap
Like the name suggests, it’s as simple as just melting your soap base and pouring it into a mold. But there are a few basic supplies you might need:
- Microwave-safe bowl
- Knife
- Soap base
- Essential oils and herbs/pigments
- Mold of your choosing
- Cut your soap base into small chunks and place them in a microwave-safe bowl or a Pyrex measuring cup
- Microwave your base in 30-second intervals until melted
- Let cool for a couple minutes before adding your fragrances and colorants. Stir to combine.
- Pour the soap into your mold of choice and let cool completely.
- When the soap is hardened, pop it out of your mold and enjoy right away!
Other helpful tools
- Scale – for measuring the exact amount of soap
- Cutting board and knife – for cutting your soap base into manageable cubes
- Measuring spoons – for adding oils or colorants
- Metal whisk – for mixing your additives
- Mixing bowls in various sizes – for keeping bases and colors separate
- Rubbing alcohol in spray bottle – a light spritz can help keep bubbles from forming in your soap
- Rubber spatula – to get the last little bit of soap out of your mixing bowl
- Cloths and paper towels – for cleaning up spills


Comments
HI ! My charcoal Melt and Pour soap base has white residue on it. Is it safe to go ahead and make soap out of this base ?
Can I add shea butter or oil to glycerine soap? upto which % is recommended?