Cold Process Soap
Rated 4.1 stars by 9 users
Prep Time
15 minutes
Cook Time
60 minutes
When starting to make cold process soap, it can be tempting to take the “go big, or go home,” approach. New soapers often want to dive in head first with layers, swirls and fragrances. While I completely understand the urge to make eye-catching soap, I always recommend starting with very basic recipe. A great place to start is a recipe that includes no colorants, design, or fragrance. I also highly recommend sticking to the three most basic soaping oils: olive, coconut and palm.
This might sound a little boring to some, but there is a lot to learn when making your first batch of cold process soap. First, you need to learn how to safely mix your lye solution. Then, you need to correctly mix and measure your soap making oils. Sometimes pouring the lye into your oils while holding your stick blender can feel a little funny, and your first batch of soap familiarizes you with this. Your first batch also teaches you what trace looks and “feels” like. In addition, you may need to line your mold.
All of this combined is plenty when just starting out! Don’t overload yourself. I have watched many beginner soapers become discouraged right off the bat, because they attempt techniques that even advanced soapers struggle with. Set yourself up for success, and keep it simple. Trust me =)
This tutorial is the first in the Back to Basics Cold Process Series. This series of tutorials includes four cold process recipes that are perfect for beginning soapers.
This project was designed for somebody who has never made cold process soap before. The recipe includes the three most common soaping oils, olive, palm and coconut.
Basic Cold Process Soap Terms
Saponification:Saponification refers to the chemical reaction that occurs when oil and lye molecules create new soap molecules.
Trace:Trace is a point in the soap making process when oils and lye water have emulsified and begins to thicken. Once the soap has reached thin trace, it will continue to thicken over time. Click here to read more about trace, including what thin, medium and thick trace looks like.
Emulsification/Emulsify:Emulsification is when the oils and lye solution have mixed together, and will not separate from each other. The term emulsify and trace are often used interchangeably.
Superfat: Soap is made by lye turning oil molecules into soap molecules. Any extra oil left in the soap and not attacked by the lye is called a ‘superfat.’ The terms ‘superfat’ and ‘lye discount’ can be used interchangeably.
If you’ve never made natural cold process soaps at home before, you’ll need to make sure you have the equipment and utensils before you start. This recipe makes a simple cold process soap which you can then adapt to be more creative as you gain confidence.
If you simplify the general steps for how to make a cold process soap it would be:
Make your lye Prepare your oils Combine your lye & oils Mix until trace Add in your fragrance (if required) Blend in your colour (if required) Pour into your mould Decorate accordingly Leave to cure
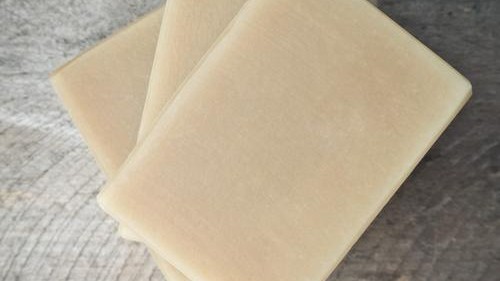
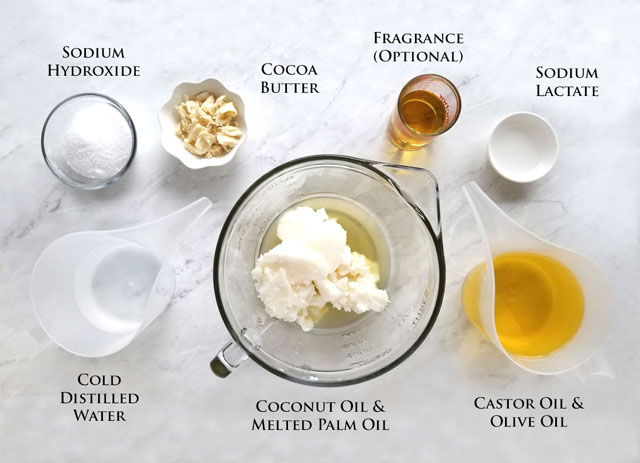
Purenso® Ingredients
-
9.8 oz / 276 g Cold Distilled Water (Water as a percent of oil weight: 30%)
-
4.6 oz / 129 g Sodium Hydroxide (Lye) (6% Super Fat/Lye discount)
-
2 tsp / 13 g Sodium Lactate (Optional) (helps soap to harden and release from mold sooner)
-
8.1 oz / 230 g Palm Oil (25 %)
-
8.1 oz / 230 g Coconut Oil (25%)
-
0.8 oz / 23 g Cocoa Butter, cut into small pieces (2.5%)
-
0.8 oz / 23 g Castor Oil (2.5%)
-
14.6 oz / 415 g Olive Oil(45%)
-
2.6 oz / 73 g or Skin Safe Fragrance Oil or Essential Oil (Optional) (5.5%).
Directions
Gear up for Safety
Put on your long sleeves, long pants, shoes, safety goggles, and gloves. Work in a well ventilated area that is free from distractions.
If at any time your skin comes in contact with lye or lye/water, flush with water for water for at least 15 minutes and seek medical help if necessary.
Make Lye Solution
Measure cold distilled water into funnel pitcher. In a separate container, measure sodium hydroxide. Sprinkle approximately half of the sodium hydroxide into the cold water, stir gently to avoid splashing. Make sure to avoid breathing any fumes. Repeat, and stir until mixture is dissolved. (Please note that when lye is added to the water it will heat up very quickly. For this reason, never use a glass container for mixing your lye and water, and always add lye to water and not the other way around because of the potential lye volcano. Just remember, “Snow falls on the lake.”)
Set aside in a safe place that is well ventilated to cool. Wipe down container that had lye in it with paper towel and dispose of in safe place. Also wipe down area and wash gloved hands after mixing lye.
Measure sodium lactate into small container and set aside near lye solution.
Make Oil Solution
Oils are made of different fatty acids and each of the acids melt and solidify at different rates. For this reason, it is necessary to completely melt the palm oil in its original container and stir/agitate before measuring.
Melt palm oil in microwave in 30 second bursts, agitating in between bursts. (Or, if you have an auto defrost function, set to shortest time.) Melt completely. It will look completely clear with no floating particles.
While melting palm oil, measure coconut oil in 2-Quart Glass Mixing Bowl or Microwavable Plastic Bowl.
Zero scale and carefully measure melted palm oil into the same bowl.
Melt in 30 second bursts until coconut oil is completely melted.
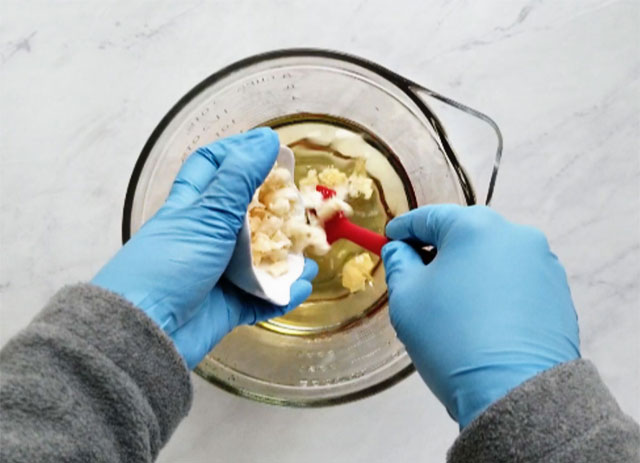
Next, measure cocoa butter into a separate container. Add cocoa butter to the melted coconut/palm oil. Stir to melt. If cocoa butter doesn’t melt completely, microwave in 30 second bursts and stir until completely melted.
Then, measure castor oil into funnel pitcher, zero scale and carefully measure olive oil into same pitcher. Stir and add this mixture to other oils/butter, pouring down the side of the container or a spatula to avoid introducing bubbles to mixture. Stir until completely clear.
Next, add fragrance oil or essential oil and stir to incorporate. (Optional)
Make Soap
If you want to gel your soap, which is recommended, now is a good time to turn on your heating pad (on high). If you are not familiar with the gel stage, it happens when heat builds up in your poured batter. It usually starts from the center and works its way out to the edges. It sometimes only partially goes through this stage causing an oval ring to be revealed when the soap is cut. There is nothing wrong with the soap, aesthetically it is just not as pleasing. To avoid partial gel, we usually go ahead and force it all the way through the gel stage.
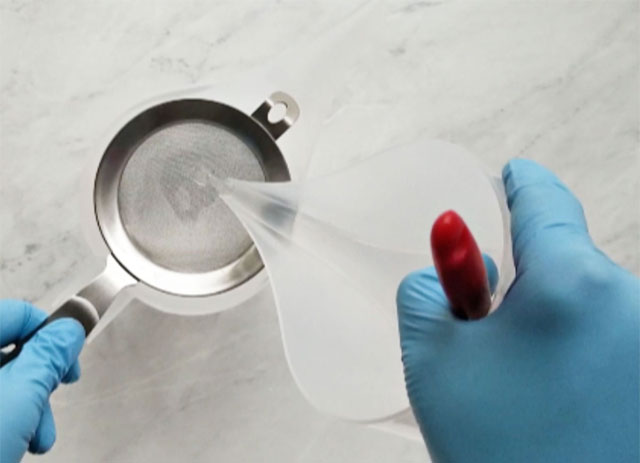
When the temperatures of the lye solution and the oil solution are within 85°- 95° F, carefully (with safety gear still on) add sodium lactate to the lye solution and strain solution into the other funnel pitcher. Use paper towels to wipe strainer and empty pitcher, then dispose of paper towels in a safe place.
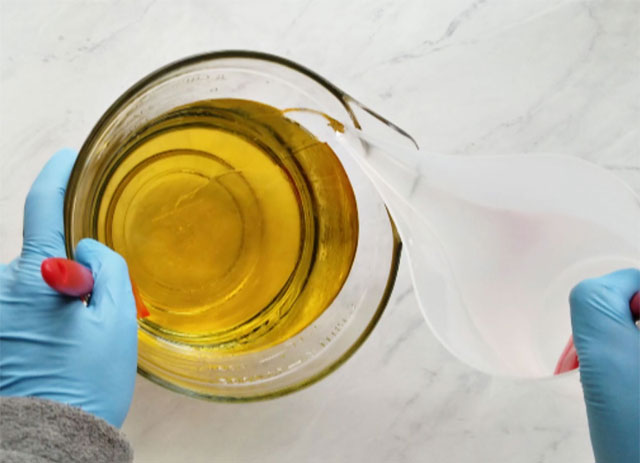
Next, pour the strained lye solution into the oils, pouring down the side of the container to avoid adding air bubbles to the mixture.
Before turning it on, insert stick blender at an angle to the bottom and shake it a bit to release any trapped air. Then, pulse and blend until it is the consistency of thin pudding. (At this point when you pull the stick blender out of the batter, a film of batter will stay on the stick blender. It won’t break apart and it won’t drip off like water.) (You can wipe off stick blender with cloth towel and run it in a container of warm soap water to clean it before it solidifies, after you have poured your soap batter.)
Once the soap has reached thin trace, it will continue to thicken over time. Click here to read more about trace, including what thin, medium and thick trace looks like.
Pour Batter
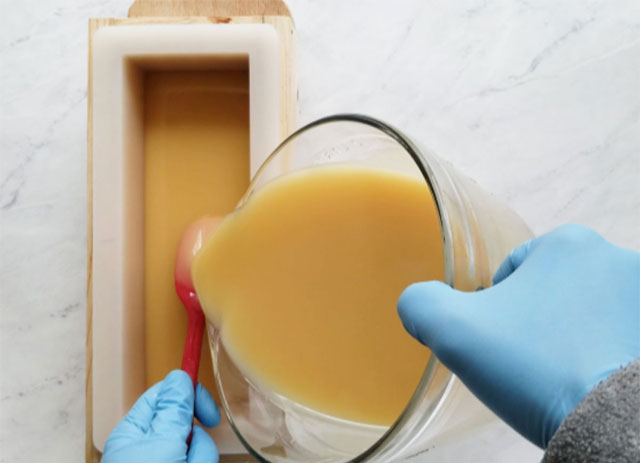
Pour all batter into the mold, pouring close to spatula to avoid adding air bubbles. Bang the mold on working surface to release any trapped air. Clean up any batter that may have splattered on the sides of the mold.
Clean Up
If oils (and grease from cooking) combine with lye water in your drains, the fats will most likely solidify and basically turn into soap. It is nearly impossible to remove that from plumbing.
It is good practice to wipe out all containers before doing dishes. Wipe out all oils and all lye solution with paper towels and safely dispose of. All soap batter can be wiped out with a cloth towel and washed with laundry.
Wash all wiped out dishes with warm soapy water.
Unmold and Cut Soap
After 48 hours, if the soap releases from the mold easily without sticking to the sides, it’s ready to unmold. If not, cover and let it sit until it’s ready. (It doesn’t pay to rush unmolding.)
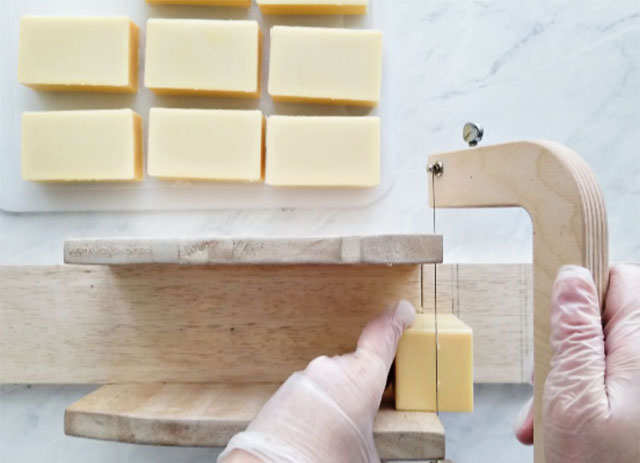
Bevel all four long edges of the soap loaf.
Mark your soap and cut it into pieces.
Bevel remaining edges if desired.
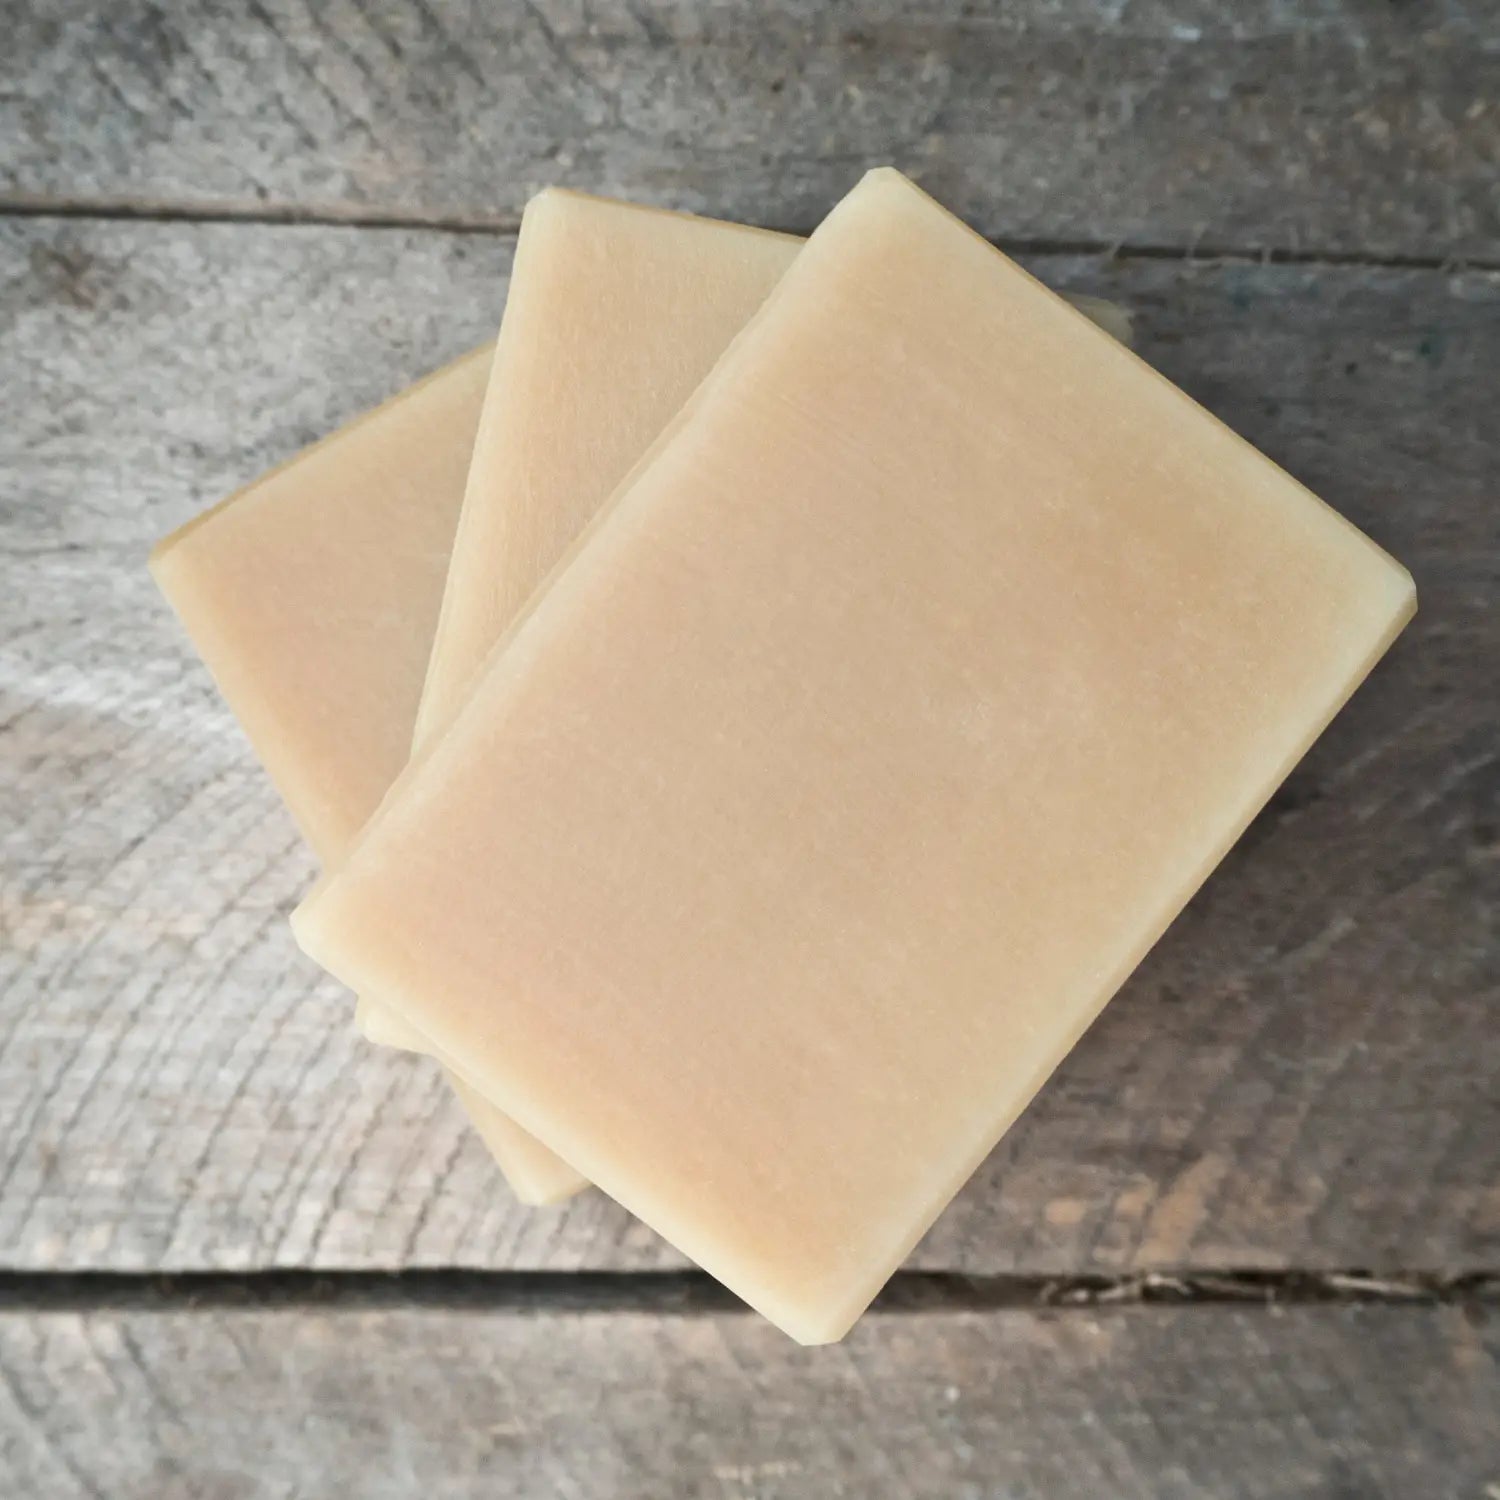
Finally, allow them to cure for 4-6 weeks in a well ventilated area and Enjoy!
Comments
I want to undergo training in glycerin based natural hand made soap
This tutorial is beginner-friendly and approachable, making it an excellent resource for those new to soap making.
I have gone through your ‘Simply Cold Process Soap Recipe’. Please advise if any mica colour e.g Lavender 1tsp mixed in 1tsp olive oil can be added to ready batter as streaks of colour and pour into mould OR directly mixing Lavender mica into baiter before pouring the same in Mould.
Moreover, Purenso should supply all required ingredients as one kit for one batch of the recipe instead of making supplies of ingredients as per packings available with Purenso. For example if one batch of given recipe require 230 gm of Palm Oil, then your packing should be for 250gm. Likewise, if recipe require 23 gm of Cocoa butter then the packing should be 25 gm & so on. So I am of the opinion that people following your recipes should be supplied all required ingredients of the batch as one Kit. If one has demand for making two batches of a particular recipe, then all ingredients for two batches should be supplied as one Kit. One will simply ask for materials required for completing the recipe specifying the requirements for on batch or two batches or it may be three.
Kindly reply.
Thanks